

tulip tie dye instructions pdf
Tulip tie dye offers a creative way to design vibrant, unique patterns on fabrics. With easy-to-follow instructions, it’s perfect for beginners and craft enthusiasts alike, ensuring fun and colorful results.
Overview of Tulip Tie Dye
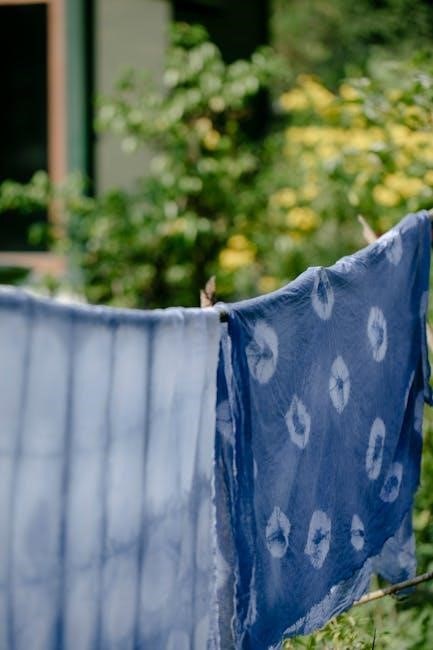
Tulip tie dye is a vibrant and creative fabric dyeing method that involves folding, binding, or twisting fabric to create unique patterns. Using Tulip tie dye kits, you can achieve bold, long-lasting colors. The process typically includes preparing the fabric, applying dye, and letting it set for 6-8 hours. This technique is perfect for DIY projects, offering endless possibilities for customizing shirts, home decor, and accessories. With easy-to-follow instructions, Tulip tie dye is accessible to crafters of all skill levels, ensuring stunning results every time.
Importance of Following Instructions
Following Tulip tie dye instructions ensures professional-looking results and prevents common issues like uneven dye distribution or faded colors. Proper preparation, dye application, and setting times are crucial for vibrant, long-lasting colors. Deviating from guidelines can lead to disappointing outcomes, such as dull hues or dye bleeding. Adhering to the steps guarantees a successful project, whether you’re customizing shirts, home decor, or accessories. This attention to detail makes your creations stand out and ensures a fun, rewarding crafting experience.
Materials Needed for Tulip Tie Dye
Tulip tie dye requires specific materials, including Tulip One-Step Tie-Dye Kits, rubber bands, gloves, buckets, dye, soda ash, and plastic sheets for a protected workspace.
Tulip Tie Dye Kits and Products
Tulip One-Step Tie-Dye Kits are essential for achieving vibrant results. These kits include pre-mixed dye, gloves, rubber bands, and instructions. They are suitable for various fabrics and come in multiple colors. Additional products like dye refills and fabric preparers enhance the tie-dye experience. These kits are widely available at craft stores and online, making it easy to start your project. They cater to both beginners and experienced crafters, ensuring a fun and creative process.
Fabric Preparation for Dyeing
Proper fabric preparation is crucial for successful tie dye. Wash and dry fabric before use to remove finishes that may resist dye. For flat dyeing methods, place plastic wrap or a trash bag between fabric layers to prevent color bleeding. Ensure fabric is damp but not soaking wet for even dye absorption. Let the fabric set for 6-8 hours or longer, following the instructions provided in the Tulip Tie Dye guide, to achieve vibrant, long-lasting colors.
Essential Tools and Accessories
For a successful tie-dye project, gather essential tools like rubber bands, gloves, and a bucket. Use plastic wrap or a trash bag to separate fabric layers and prevent dye spreading. Protective gear, such as gloves and old clothing, is crucial to avoid stains. Ensure you have the Tulip One-Step Tie-Dye Kit, which includes pre-mixed dyes and instructions. These tools will help you achieve professional-looking results and make the process safe and enjoyable.
Step-by-Step Guide to Tulip Tie Dye
Follow a detailed process: prepare fabric, choose a technique, apply dye evenly, and let it set. This ensures vibrant, long-lasting colors and unique designs every time.
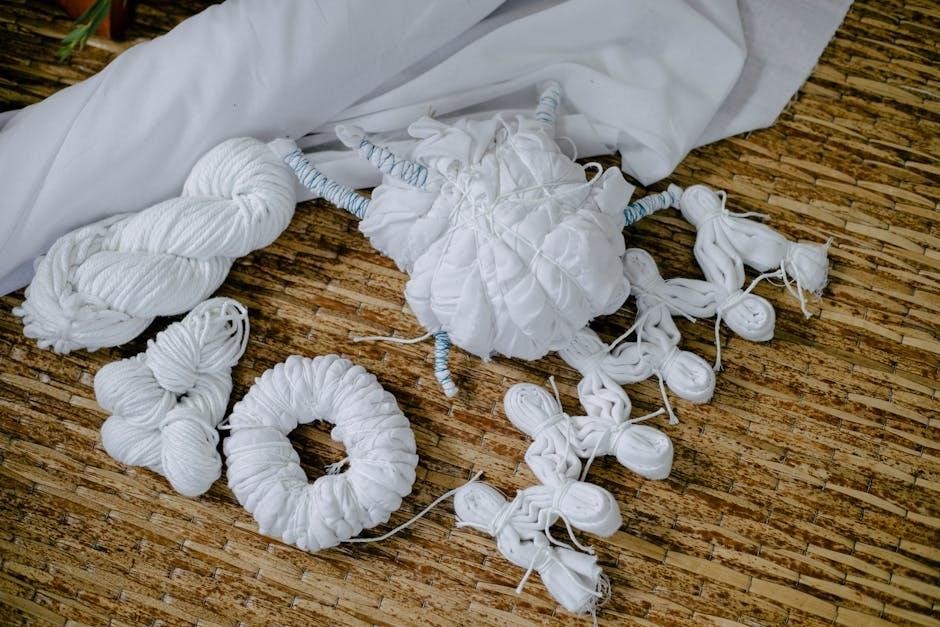
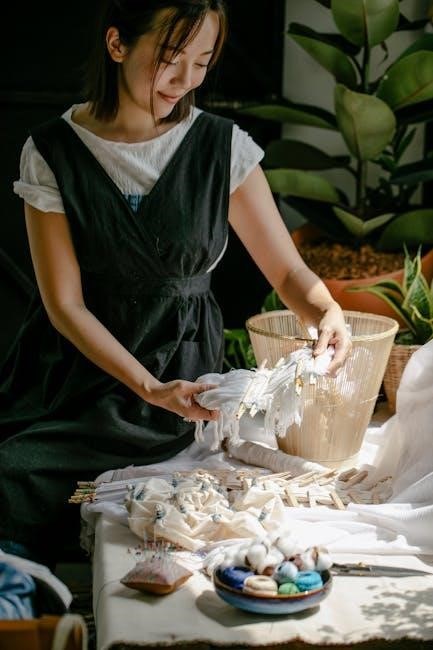
Preparing the Fabric
Start by washing the fabric to remove any finishes that might interfere with dye absorption. Dry it thoroughly before beginning the tie-dye process. Use a Tulip Tie-Dye Kit, which includes pre-measured dye powders and gloves for safe handling. Lay the fabric flat or fold it into the desired pattern. Secure with rubber bands to create resistance areas where the dye won’t penetrate. Cover your workspace with plastic or old sheets to protect it from stains. Let the fabric set for 6-8 hours to ensure vibrant colors.
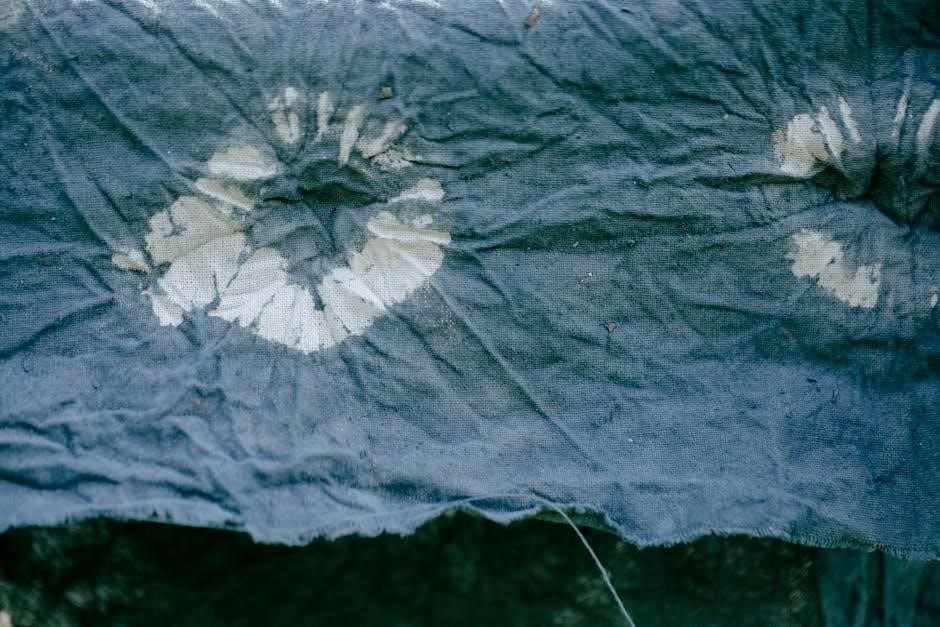
Choosing the Tie Dye Technique
Selecting the right tie-dye technique is crucial for achieving desired patterns. Common methods include folding, binding, and twisting the fabric. The spiral technique creates a swirling effect, while the accordion fold produces stripes. Binding with rubber bands allows for resist areas, resulting in unique, untouched sections. Advanced folding patterns, like the bullseye or vortex, create intricate designs. Experiment with different techniques to explore various visual effects and ensure the method aligns with the fabric type and desired outcome for the best results.
Applying the Dye
Applying the dye is a critical step in achieving vibrant results. Shake the Tulip One-Step Tie-Dye bottle well before use. Gently squeeze the dye onto the folded fabric, ensuring even coverage. Apply the dye to both sides of the fabric for consistent color saturation. For best results, cover the dyed fabric with plastic wrap or a bag to prevent drying out. Let the dye set for 6-8 hours or longer, following the instructions provided in the Tulip Tie-Dye guide for optimal color vibrancy and durability.
Setting the Dye
After applying the dye, allow it to set for 6-8 hours or longer to ensure vibrant colors. Cover the fabric with plastic wrap or a bag to retain moisture and promote even color absorption. Avoid direct sunlight during this time, as it may cause the dye to fade. Once set, rinse the fabric gently with cold water to remove excess dye before washing. Properly setting the dye is crucial for long-lasting, bright results, as outlined in the Tulip Tie-Dye instructions.
Popular Tie Dye Techniques
Tie dye techniques include folding, binding, and advanced patterns to create unique designs. These methods allow for intricate resist effects and vibrant color distributions on fabric.
Folding Techniques for Unique Patterns
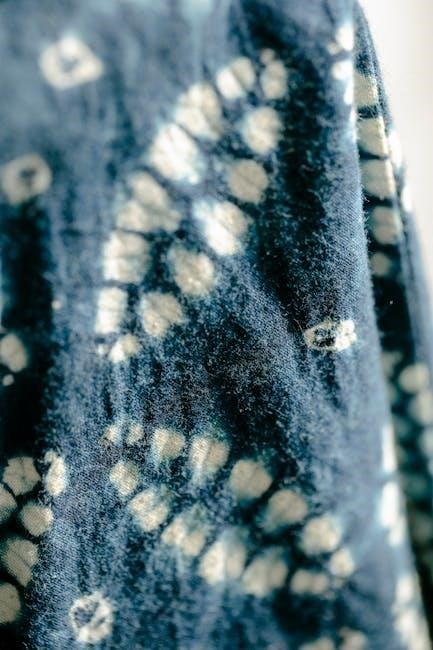
Folding fabric before dyeing creates distinctive patterns. Techniques like accordion, spiral, and scrunch produce stripes, swirls, and abstract designs. Each fold method ensures dye reaches specific areas, resulting in unique, vibrant effects. Rubber bands secure folds, allowing for precise control over color distribution. Experimenting with different folds and layers can yield intricate, one-of-a-kind designs. Proper folding is key to achieving desired patterns in Tulip tie dye projects, making it a fundamental step in the creative process.
Binding Methods for Resist Effects
Binding fabric with rubber bands or string creates resist areas, preventing dye from penetrating. This technique produces sharp, defined patterns. Tighter binds yield clearer resist effects, while looser binds allow subtle color blending. Experimenting with different binding pressures and placements can achieve unique, intricate designs. Proper binding ensures vibrant, contrasting colors in Tulip tie dye projects, making it a key step for creating visually striking results.
Advanced Folding Patterns
Advanced folding techniques elevate tie dye by creating intricate, multi-dimensional designs. Methods like the accordion fold or spiral fold produce unique patterns. Tight folds resist dye penetration, while loose folds allow color to spread, creating layered effects. Experimenting with complex folds and bindings can yield stunning, one-of-a-kind designs. These techniques require precision but offer endless creative possibilities for achieving bold, intricate tie dye art.

Troubleshooting Common Issues
Common tie dye issues include color fading, uneven distribution, and dye bleeding. These often result from improper preparation or insufficient dye setting time. Always follow instructions carefully to achieve vibrant, long-lasting results and minimize issues.
Why Colors May Fade
Colors may fade due to improper fabric preparation, insufficient dye setting time, or aggressive washing. Using low-quality dyes or not following instructions can also lead to fading. Ensure fabric is clean and pre-washed to remove finishes that repel dye. Allowing the dye to set for the recommended 6-8 hours is crucial. Hand washing gently with cold water and mild detergent helps preserve vibrancy. Proper care ensures long-lasting, vibrant results for your tie dye projects.
Fixing Uneven Dye Distribution
Uneven dye distribution can occur due to improper folding, insufficient dye application, or inadequate rubber band tightness. To fix this, gently unfold the fabric and reapply dye to lighter areas. Ensure even coverage by soaking the fabric thoroughly before folding. Tightening rubber bands and allowing more time for the dye to set can also help. Always follow the Tulip Tie Dye instructions carefully to achieve consistent results. Testing on a small area first can prevent such issues and ensure vibrant, even patterns.
Resolving Dye Bleeding
Dye bleeding occurs when colors migrate or fade unevenly after washing. To resolve this, rinse the fabric gently with cold water before washing. Add a vinegar rinse to set the colors. Wash tie-dye items separately in cold water using a mild detergent. Avoid soaking for extended periods and do not dry in direct sunlight. Following these steps helps preserve the vibrancy and prevent further bleeding. Proper care ensures long-lasting, vibrant results for your Tulip Tie Dye projects.
Safety and Precautions
Always wear protective gloves and eyewear when handling dyes. Work in a well-ventilated area to avoid inhaling fumes. Keep materials away from children and pets. Ensure the workspace is covered to prevent stains. Follow instructions carefully to avoid accidents and achieve the best results with Tulip Tie Dye projects.
Protective Gear and Workspace
Wear protective gloves and eyewear to prevent skin and eye irritation from dyes. Cover your workspace with plastic sheets or old towels to avoid stains. Ensure good ventilation to prevent inhaling dye fumes. Keep children and pets away from the workspace. Use a well-ventilated area, preferably outdoors, to minimize exposure to chemical vapors. Proper preparation ensures a safe and enjoyable tie-dye experience with Tulip products.
Handling Dyes Safely
Always handle Tulip tie-dye products with care to avoid skin contact. Wash hands thoroughly after use and avoid eating or drinking nearby. Keep dyes away from children and pets. If dye comes into contact with skin, rinse immediately with soap and water. In case of eye contact, flush with water and seek medical attention if irritation persists. Follow all safety instructions provided with the Tulip tie-dye kit to ensure a safe and enjoyable experience.
Disposal of Dye Materials
Properly dispose of leftover dye and materials to protect the environment. Allow excess dye to fully set or harden before discarding. Wrap used materials in sealed bags to prevent leakage. Do not pour dye down drains, as it can harm water systems. Check local regulations for hazardous waste disposal guidelines. Recycle packaging materials whenever possible to minimize environmental impact. Ensure all waste is handled responsibly to maintain safety and sustainability.
Creative Projects with Tulip Tie Dye
Tulip tie dye opens up endless possibilities for crafting unique apparel, home decor, and accessories. From vibrant shirts to colorful scarves, it’s a versatile way to express creativity.
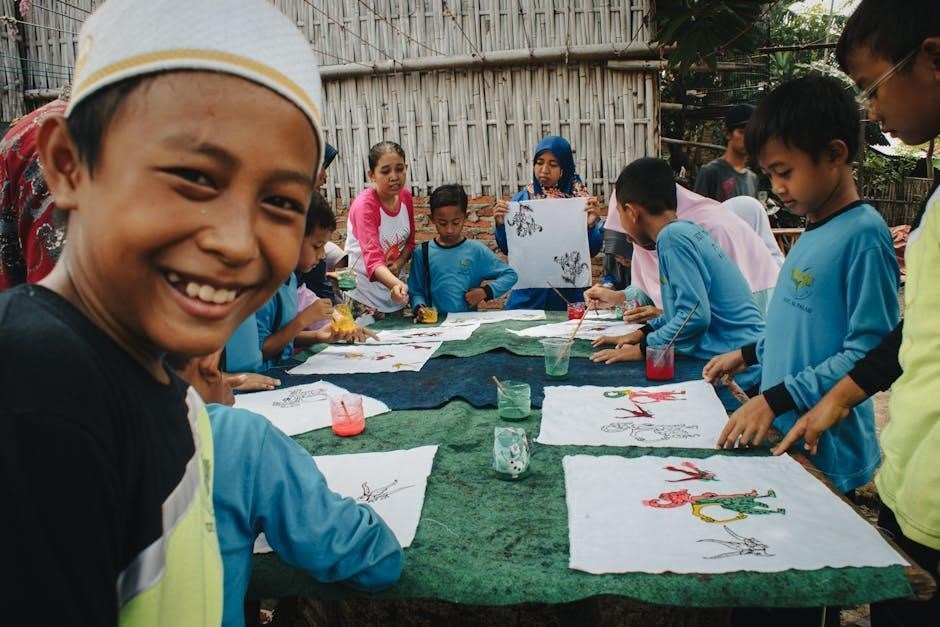
Dyeing Shirts and Apparel
Tulip tie dye is perfect for creating unique, personalized shirts and apparel. Use Tulip One-Step Tie-Dye Kits for vibrant results. Wash and dry fabric first, then fold or bind to achieve desired patterns. Apply dye evenly, following kit instructions. Let set for 6-8 hours before rinsing. This method ensures bold, long-lasting colors. Ideal for DIY projects, Tulip tie dye makes customizing clothing easy and fun, with professional-looking outcomes every time.
Creating Unique Home Decor
Tulip tie dye can transform ordinary home decor into vibrant, one-of-a-kind pieces. Use Tulip One-Step Tie-Dye Kits to dye tablecloths, pillowcases, or curtains. Follow the instructions to prepare fabric, apply dye, and let it set for 6-8 hours. This method ensures bold, long-lasting colors. Experiment with folding techniques to create intricate patterns. Perfect for DIY enthusiasts, Tulip tie dye adds a personal touch to home decor, making it easy to refresh your space with unique, handmade designs.
Customizing Accessories
Tulip tie dye is a fantastic way to personalize accessories like scarves, bags, and headbands. Follow the Tulip One-Step Tie-Dye Kit instructions to create unique, vibrant designs. Prepare your fabric, apply the dye, and let it set for 6-8 hours. This method ensures bold, long-lasting colors. Experiment with folding techniques to achieve intricate patterns. Perfect for DIY enthusiasts, Tulip tie dye allows you to add a personal touch to your accessories, making them stand out with custom, handmade designs.
Care Instructions for Tie Dye Fabrics
Proper care ensures vibrant colors last. Wash tie-dye fabrics inside out in cold water, using mild detergent. Avoid harsh chemicals and fabric softeners to maintain color intensity and fabric quality.
Washing and Maintenance
For long-lasting tie-dye results, wash fabrics inside out in cold water using mild detergent. Avoid bleach or harsh chemicals, as they can fade colors. Gently agitate by hand or use a delicate cycle. Air-dry or tumble dry on low heat to prevent shrinkage and color bleeding. Regular maintenance ensures vibrant hues remain intact. Proper care extends the life of your tie-dye creations, keeping them fresh and colorful for years to come.
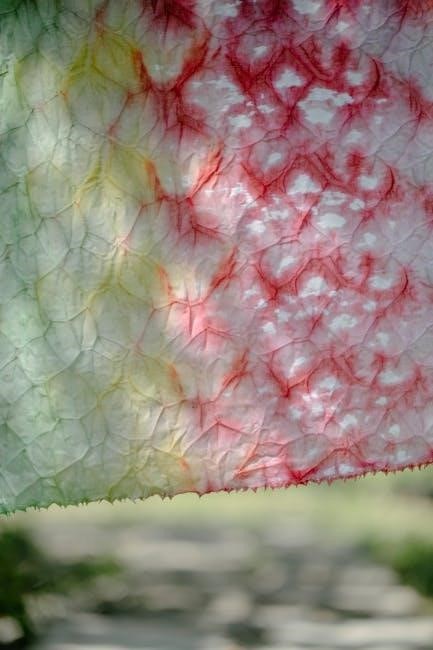
Preserving Color Vibrancy
To maintain the brightness of your tie-dye designs, wash fabrics in cold water with a mild detergent. Avoid using bleach or harsh chemicals, as they can dull the colors. Air-drying is recommended, as high heat can cause fading. For best results, wash inside out to protect the dye from friction. Regularly following these care tips ensures your tie-dye creations retain their vibrant hues and remain eye-catching for a long time.
Storage Tips
Proper storage helps maintain the quality and color of your tie-dye fabrics. Store them in a cool, dry place away from direct sunlight to prevent fading. Fold or hang items neatly to avoid creases. Use airtight containers or breathable fabric bags to protect from dust and moisture. Clean fabrics before storage to prevent stains from setting. Avoid stacking multiple items tightly, as this can cause wrinkles or damage. Proper storage ensures your tie-dye creations remain vibrant and intact for years.
Accessing Tulip Tie Dye Instructions PDF
Access the Tulip Tie Dye Instructions PDF easily online. This comprehensive guide provides step-by-step techniques, material lists, and troubleshooting tips for achieving vibrant, professional results at home.
Downloading the Guide
Accessing the Tulip Tie Dye Instructions PDF is straightforward. Visit the official Tulip website or trusted crafting platforms to download the guide. This comprehensive resource includes step-by-step instructions, material lists, and troubleshooting tips. Perfect for both beginners and experienced crafters, it ensures vibrant, professional results. The PDF is free and easily downloadable, providing everything needed to master Tulip tie dye techniques. Always download from trusted sources to guarantee the latest version and best results for your projects.
Navigating the PDF
The Tulip Tie Dye Instructions PDF is organized for easy navigation. It typically includes sections like materials, techniques, and troubleshooting. Use bookmarks or the table of contents to quickly find specific topics. The guide often features step-by-step instructions with visuals, making it user-friendly. Look for tips on fabric preparation, dye application, and setting times. Visual aids like diagrams and images help clarify complex steps. This structured format ensures you can easily follow along and achieve professional-looking results for your tie dye projects.
Using the Guide Effectively
To maximize the Tulip Tie Dye Instructions PDF, start with simple projects to build confidence. Use the visual guides to understand folding and binding techniques. Refer to the troubleshooting section for common issues like uneven dye distribution. Organize your materials beforehand to streamline the process. Follow step-by-step instructions carefully, especially for setting times, to ensure vibrant results. Practice on small fabric scraps before working on larger items. This approach will help you master tie dye and achieve professional-looking designs with ease.
Additional Tips and Tricks
Experiment with color combinations and folding techniques for unique designs. Follow instructions closely for best results. Practice on small fabrics before larger projects to refine skills.
Enhancing Color Brightness
To achieve vibrant colors, use high-quality dyes and follow instructions precisely. Pre-wash fabrics without fabric softener to ensure better dye absorption. Soak fabrics in soda ash solution before dyeing to enhance color brightness and durability. Allow the dye to set for the recommended 6-8 hours or longer for deeper hues. Wash gently with cold water and mild detergent to preserve color intensity. Proper care ensures your tie-dye creations remain bold and eye-catching for years to come.
Combining Techniques for Complex Designs
Combine folding, binding, and advanced patterns to create intricate tie-dye designs. Experiment with layering colors and techniques to achieve unique, multi-dimensional effects. Use rubber bands to section fabric for precise control, then apply dyes in stages. This method allows for detailed, complex designs that stand out. Follow the Tulip Tie Dye instructions for timing and dye application to ensure vibrant, long-lasting results. Patience and creativity will yield stunning, one-of-a-kind pieces with professional-quality finishes.
Experimenting with New Methods
Experimenting with new tie-dye methods can lead to unique and innovative designs. Try unconventional folding techniques or mix colors in unexpected ways to create one-of-a-kind patterns. For beginners, Tulip Tie Dye kits offer easy-to-follow guides, making it simple to explore creative ideas. Don’t be afraid to push boundaries—layering dyes or combining resist methods can yield stunning results. Remember, practice makes perfect, so keep trying new approaches to develop your personal style and achieve standout designs with vibrant, lasting colors.
Tulip tie dye is a fun, creative way to craft unique designs. With these guides, you can achieve vibrant results and enjoy the satisfaction of handmade art.
Final Thoughts on Tulip Tie Dye
Tulip tie dye is a vibrant and creative way to express yourself through fabric. With easy-to-follow instructions, it’s accessible to all skill levels, offering endless possibilities for unique designs. Whether you’re crafting shirts, home decor, or accessories, the process is both educational and rewarding. Experiment with techniques, colors, and patterns to create one-of-a-kind pieces. Embrace the journey of learning and enjoy the satisfaction of wearing or displaying your handmade art. Happy dyeing!
Encouragement to Experiment
Don’t be afraid to explore and try new techniques with Tulip tie dye. Experimenting with different folds, colors, and binding methods can lead to unique, personalized designs. The process is forgiving, allowing you to learn and grow with each project. Mix vibrant hues, test patterns, and push creative boundaries. Every attempt is an opportunity to discover something new and exciting. Embrace the freedom to innovate and make your tie dye projects truly one-of-a-kind reflections of your style and imagination.